So many details remain for us to complete. Some small, some medium and a couple of big ones. Though I‘m confident that we will finish in time for our unveiling, there is still plenty to do…
The ProAlloy Chargecooler was a big issue that we needed to get sorted as it effects the bodywork and more. As many of you know, the air to air intercooler in an Exige heat soaks quickly and robs power. Our partners at ProAlloy have made a great chargecooler that runs coolant to keep the IC cool. We choose to use their 211 chargecooler kit as our starting point. We knew that some modification would be needed. We started fitting it to see what we would need to change.

We had precut the Elise rear clam with the intercooler tubes in mind. It turns out that we needed to cut a bit more so marked those areas. The chargecooler will get mounted to a bracket that bolts to the subframe. We wanted to be able to remove the rear clam without having to remove the chargecooler so that meant cutting more of the clam. We will reinforce a few areas as a result.
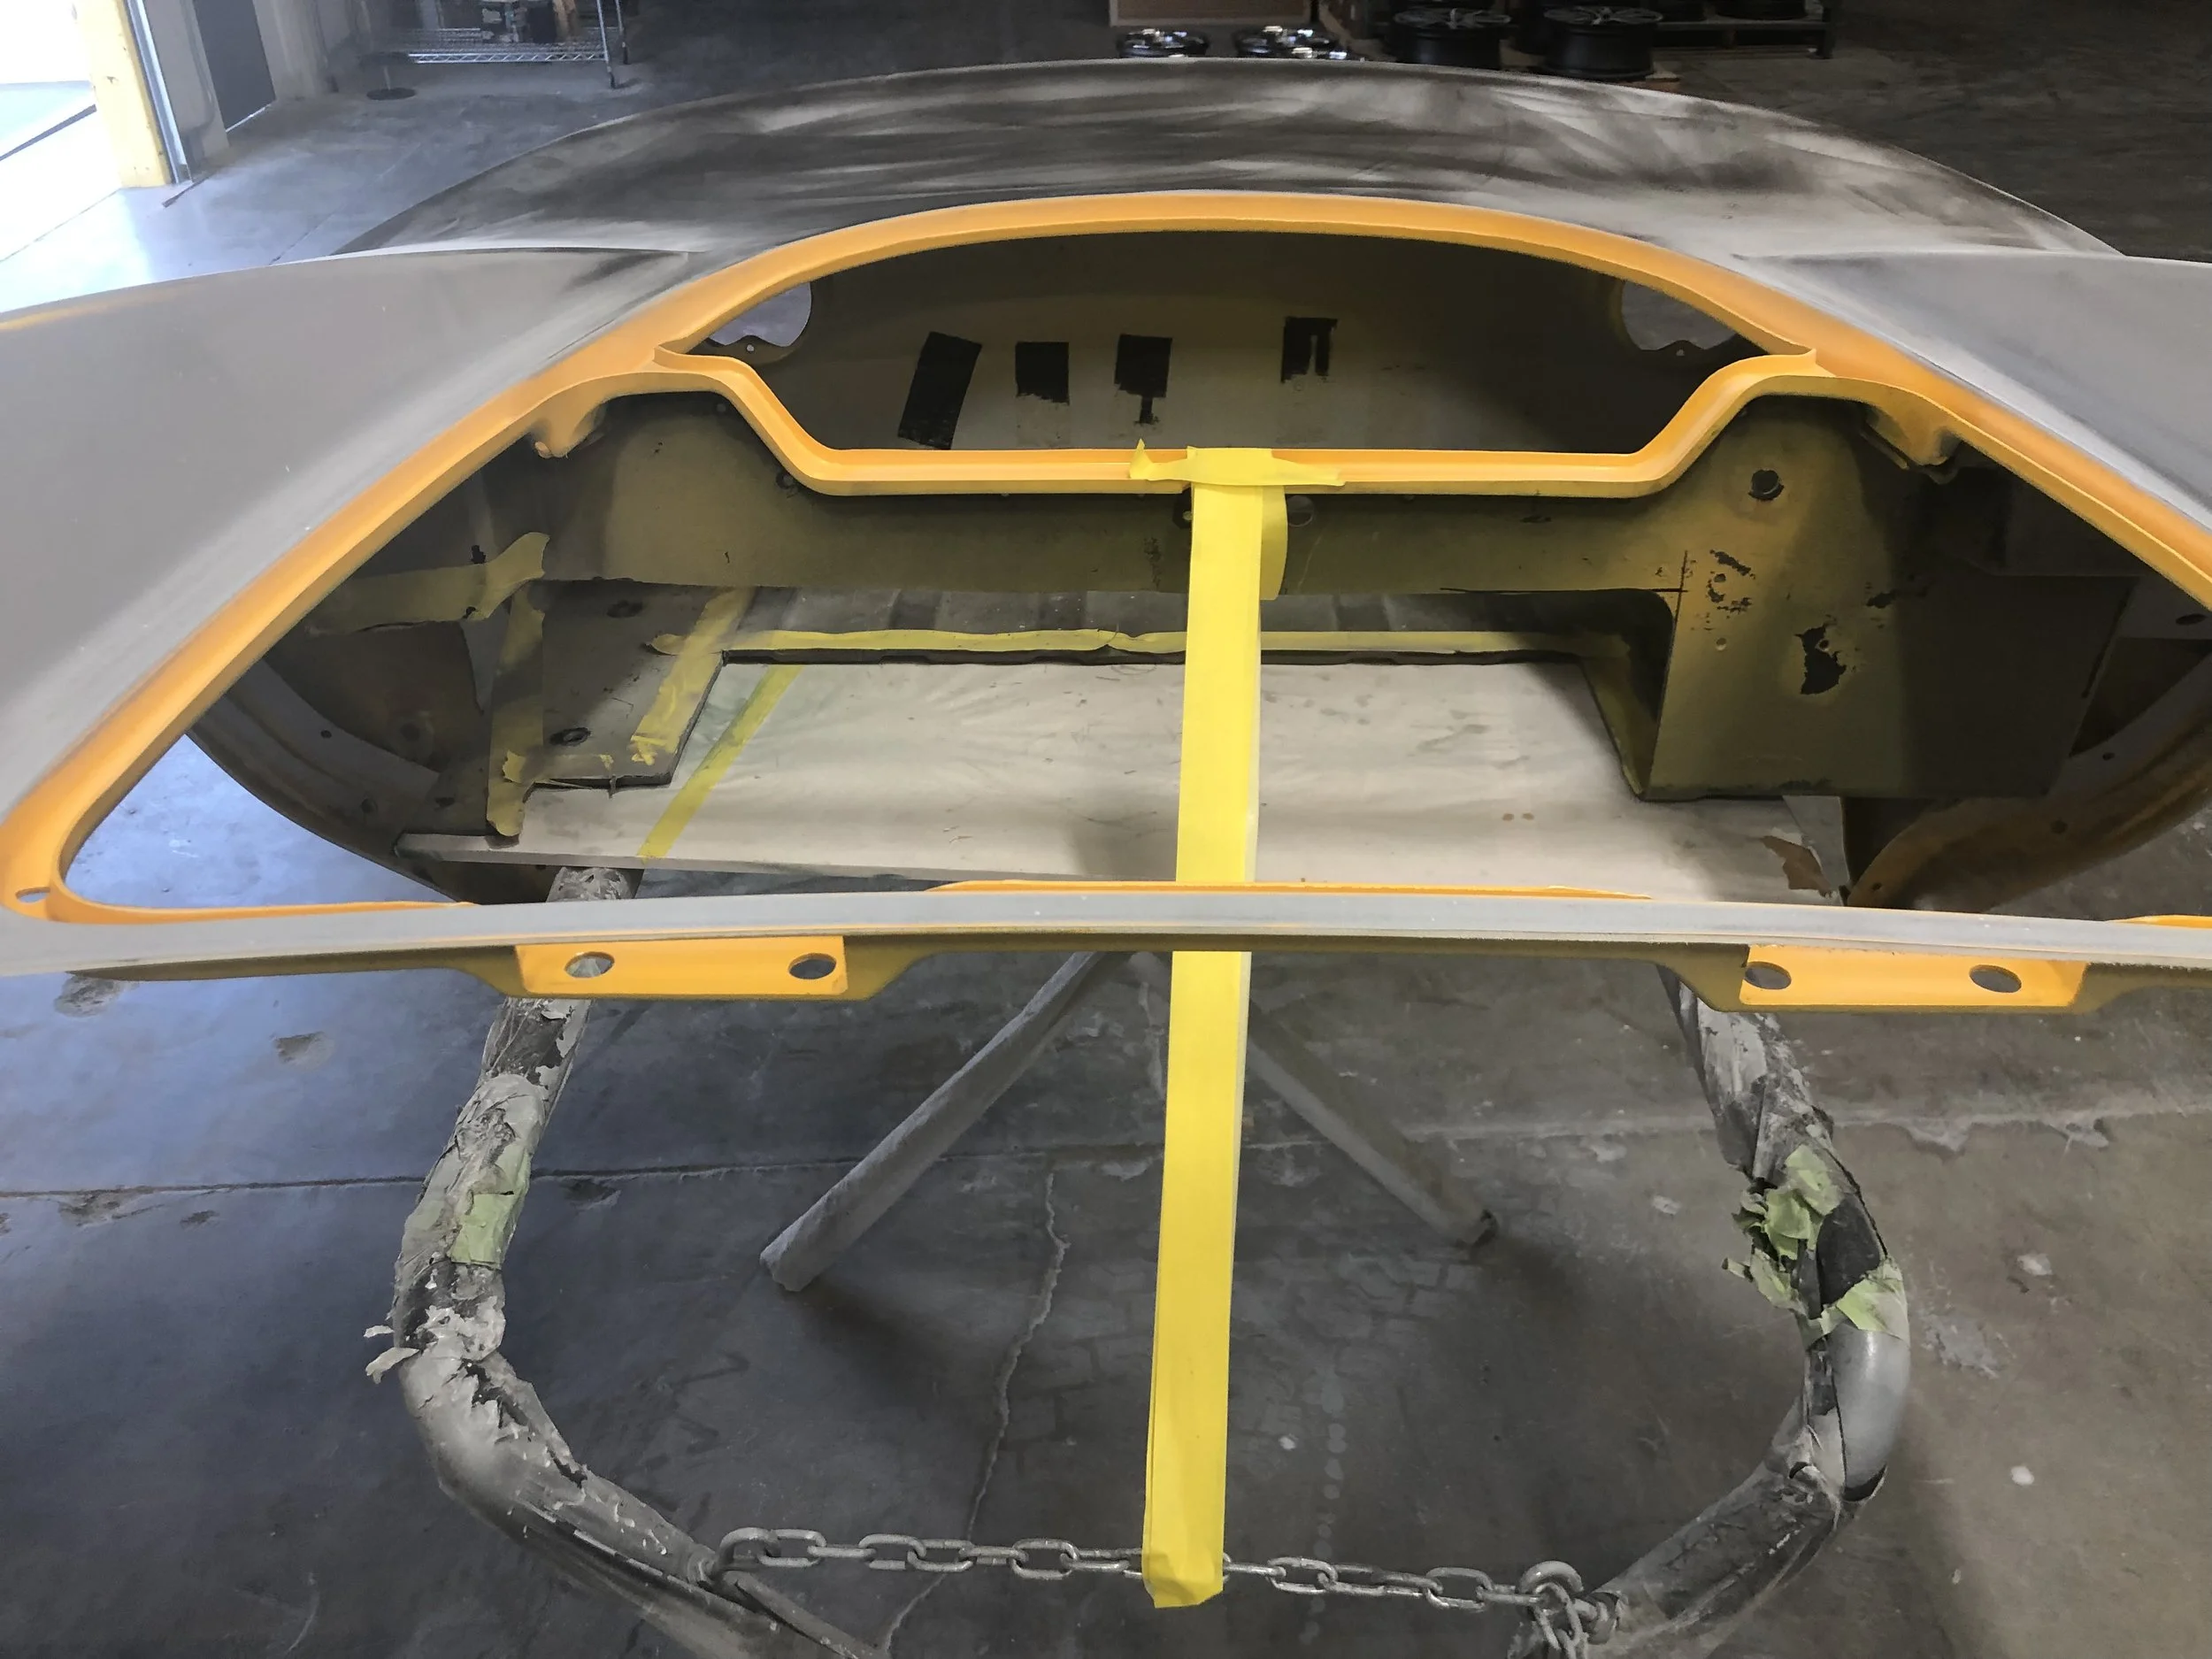
Sections have been removed and a bit more will come out…
The Elise rear hatch will get secured with an Aerocatch latch. We used this on our ArtCar2 and it works nicely. Since the trunk is going to be filled with a chargecooler, we figured having a lockable trunk was not needed. We also filled a few holes including the old antennae hole found on early trunk lids.

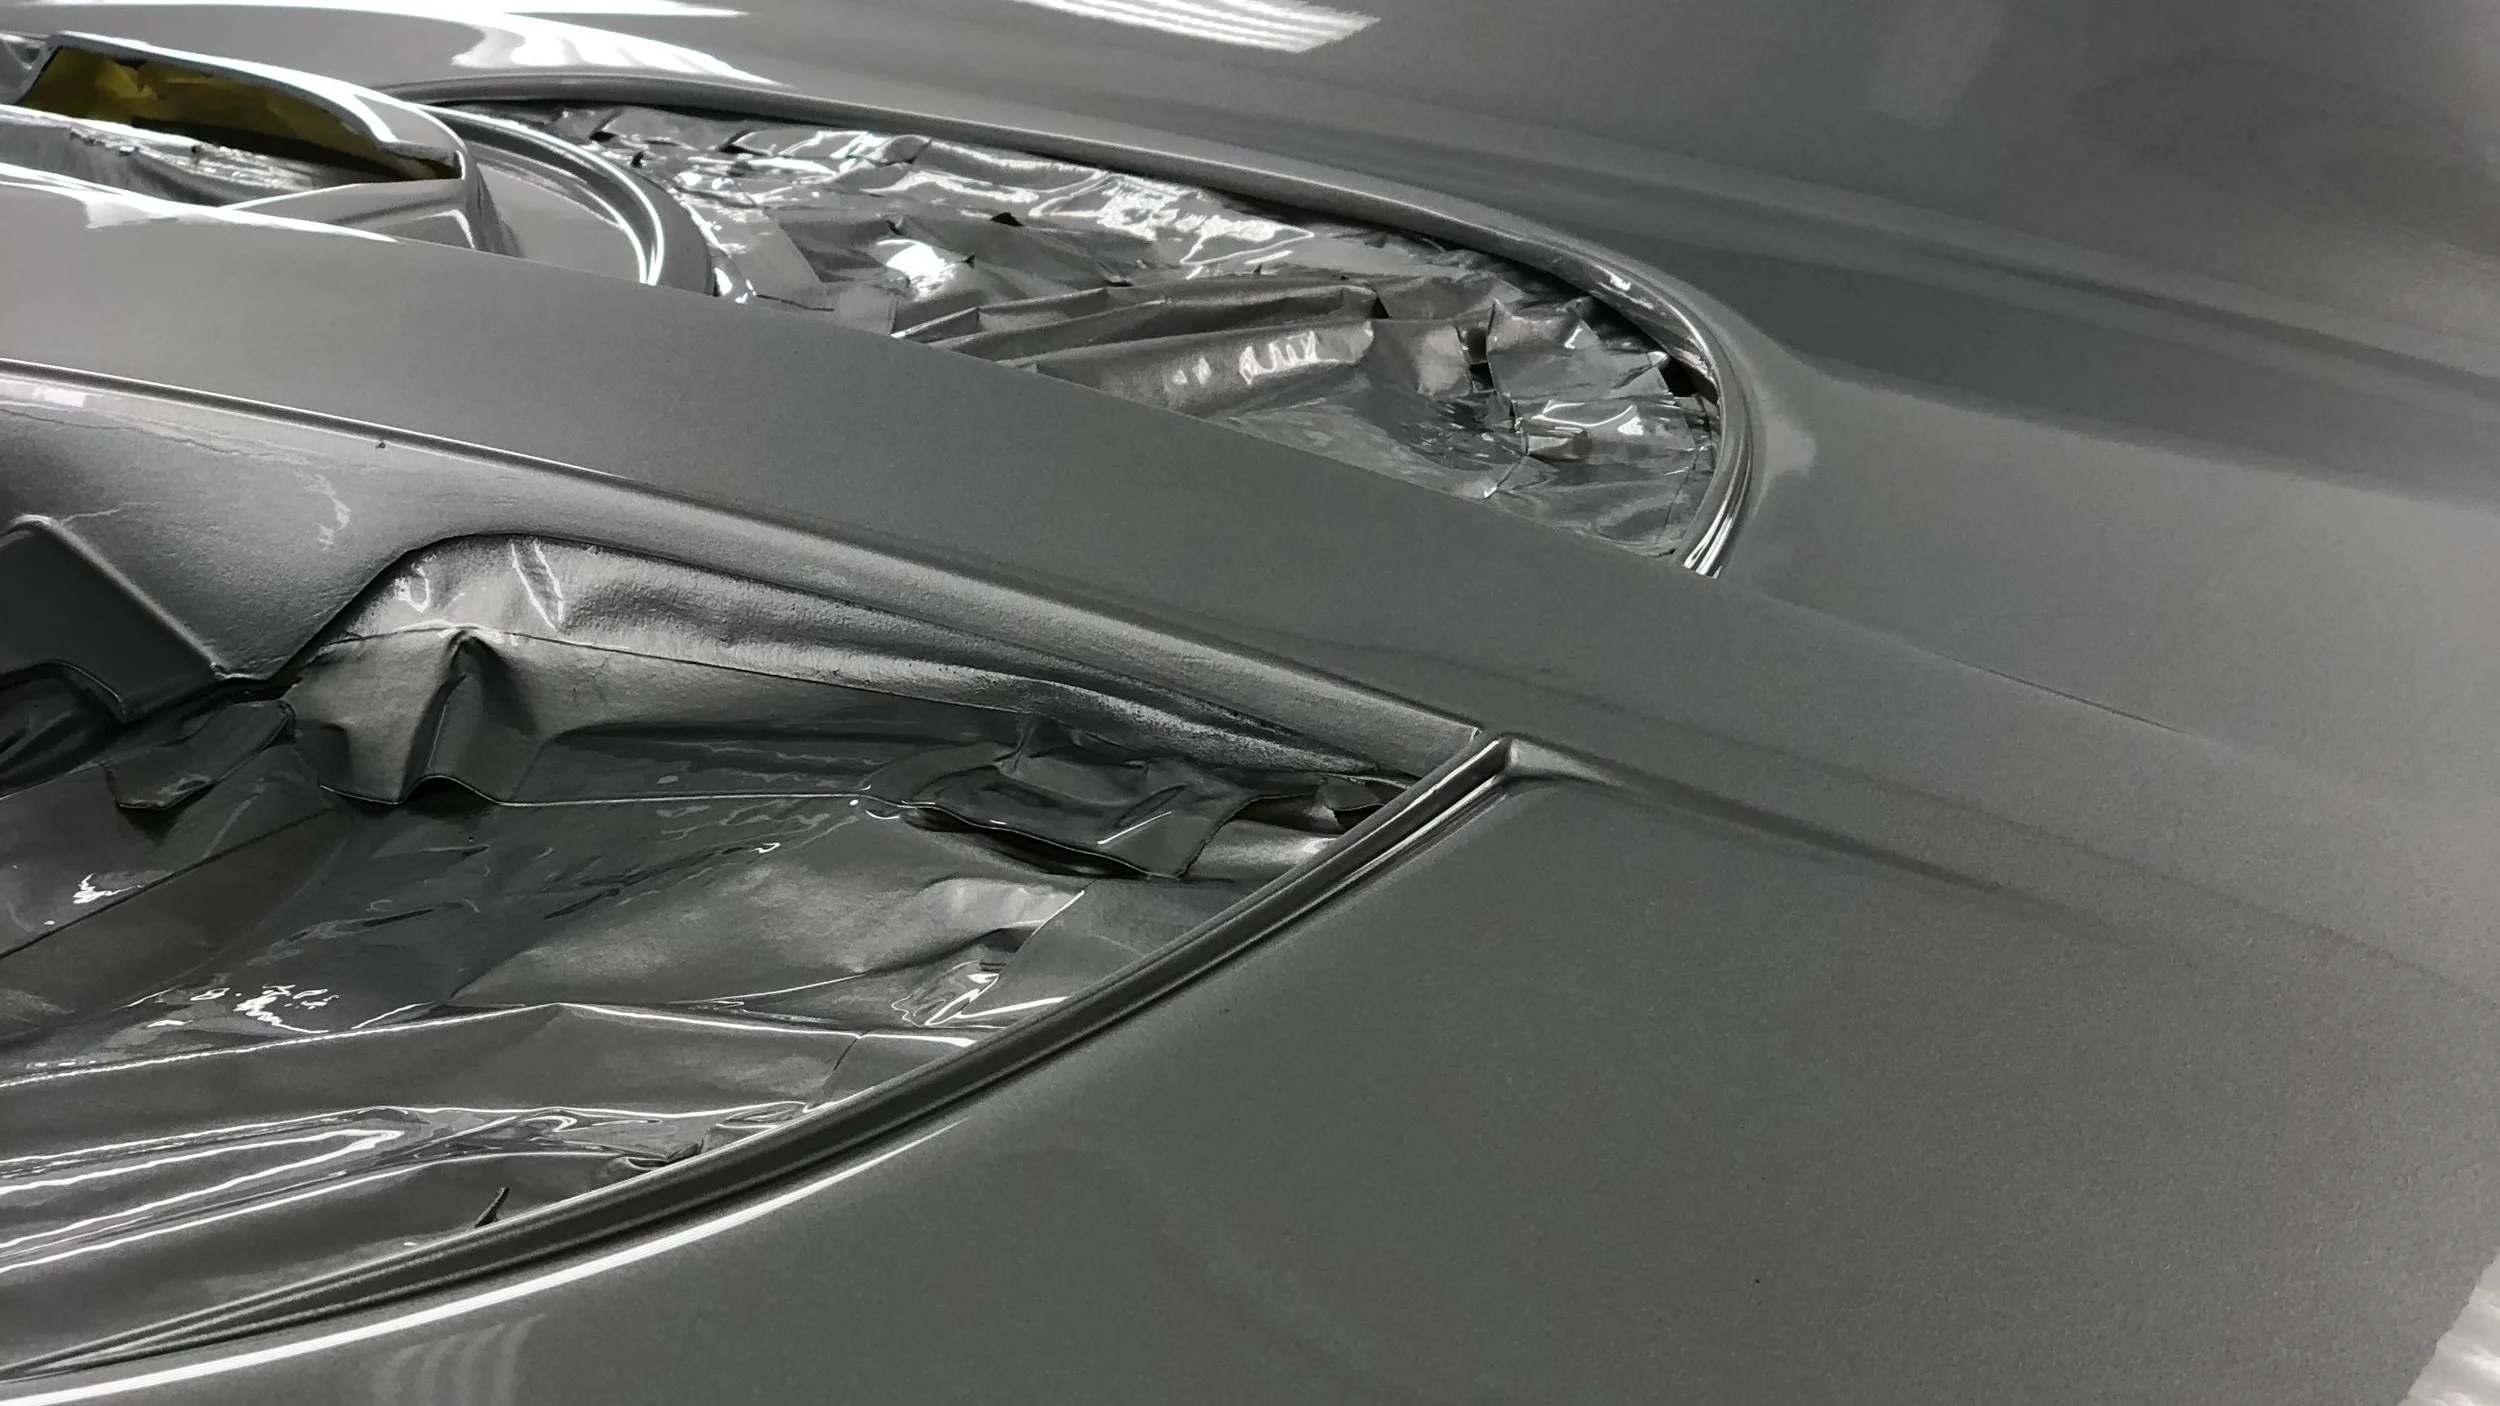
Sanding down the paint, filling holes and then shooting primer
We have been working the fiberglass to show our bodywork capabilities. We added new features to the body that not only look cool but also add performance. The Gurney Flap that we added to the front clam at the radiator exit is a small detail but one that I think is pretty cool(pun intended).
A small aero feature…
Since the side glass has been deleted, we chose to fill in the door glass openings. We also shaved the a-pillar posts for the side view mirrors. The final result is really cool.


